 Eric is a fun guy to play, especially at the end of the day when the beers have been flowing and everything looks hazy.
He was playing an absolutely beautiful Empire army with a converted steam tank, nicely highlighted knights, and a large swordsmen unit that were all painted to the same high quality. I gave his army my vote for Best Appearance. I wish I had some pictures of the army at large, but you can tell how awesome it looks as the game is played out.
Eric's Empire army was a pretty standard build that I would put in the middle range of Empire power builds. From what I remember, his army included:
General of the Empire
- General, Barded Warhorse (and I think just Full Plate Armor, a shield, and a lance)
Battle Wizard
- Level 4, Lore of Shadow, Dispel Scroll
Captain of the Empire
- Battle Standard Bearer, Barded Warhorse
Warrior Priest
Witch Hunter
Swordsmen (large unit 30+)
Archers
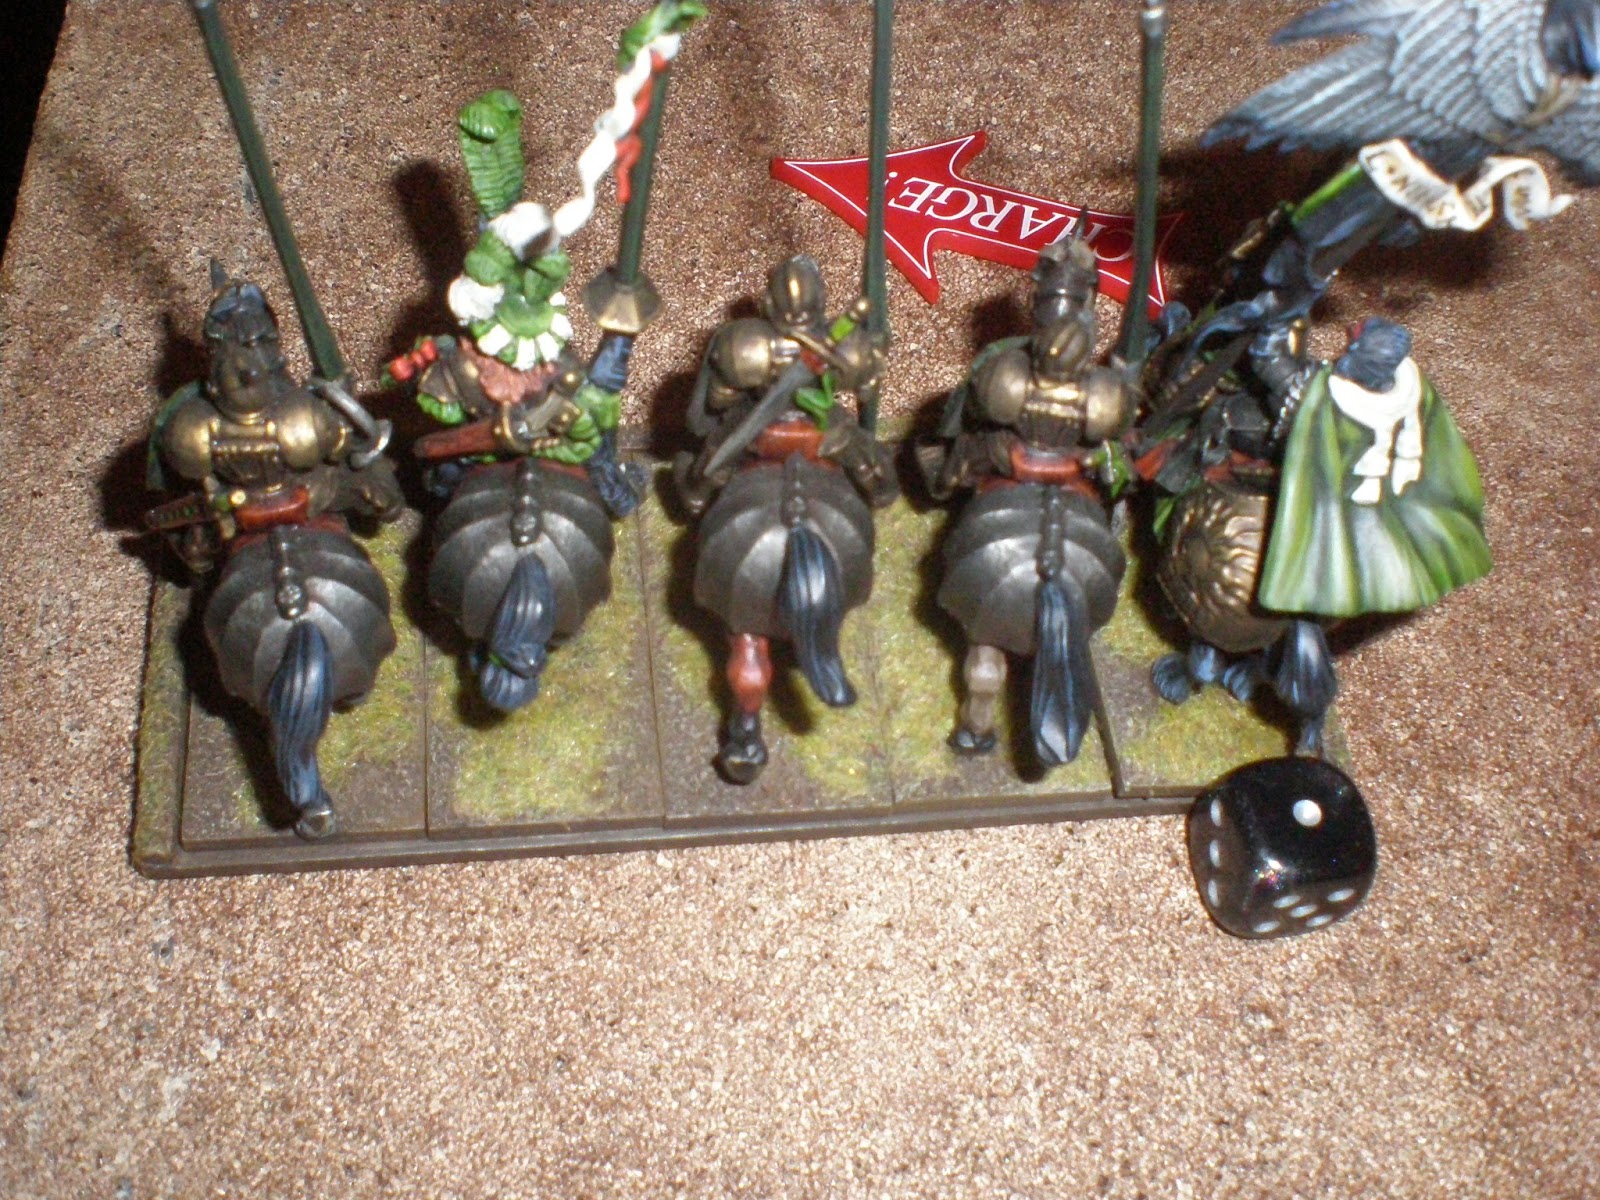
Inner Circle Knights (5 models with full command)
Reiksguard Knights (5 models with full command)
Pistoliers (5 models with musician)
Great Cannon
Steam Tank
This list packs a lot of punch, but doesn't look as over powering on the table top as some of the Empire builds that were at WaaaghPaca this year (including the Empire build I played Round 5). It has a good solid core unit that can hold its own in combat and acts as a bunker for the characters on foot. A combined charge from the knights can be absolutely devastating to almost any unit. Plus, there is a Steam Tank! I wish I knew what the character builds were because I think this would be a fun Empire army to play on occasion when I get tired of my green elves.
For this round, Eric and I were playing Meeting Engagement with the following exception: the player with the least facial hair must choose table sides (and therefore deploy his entire army first).
The "Man of Intrigue's" special rules were as follows:
- The "Man of Intrigue" is "the singer." Any wizard attached to the "Man of Intrigue's" unit may "boost" one of his spells by singing for fifteen seconds during the spell roll. The "boosted" spell needs only to meet the un-boosted spell casting cost, but has the boosted spell effects.
- Additionally, any wizard attached to the "Man of Intrigue's" unit may "boost" one of his dispel attempts per phase by singing for fifteen seconds during the dispel roll. The "boosted" dispel attempt adds 5 to the dice roll.
- 0 battle points are awarded for accumulating between 0 to 300 victory points.
- 1 battle point is awarded for accumulating between 301 and 600 victory points.capturing the least table quarters.
- 2 battle points are awarded for accumulating between 601 and 1200 victory points.
- 3 battle points are awarded for accumulating more than 1200 victory points.
- An additional 1 battle point is earned for signing (and thereby "boosting" a spell or dispel) exactly three times.
 I hated this table. This giant pyramid took up roughly a third of the battle field. Even worse, on Meeting Engagement deployment, Eric was able to choose the opposite table corner meaning that this pyramid was not only in my deployment zone, but took up almost all of the I could deploy my army. This forced me to place troops within first turn charge range of Eric's knight units! I don't think I have ever played on a worse table at a tournament for this type of deployment.
Here is a better picture of what the deployment zones looked like when I was starting to place my army. The tape measure is down the center of the board from corner to corner. The dice on the left is the maximum edge of my deployment zone. Which means that the funky small triangle shape is where I was forced to deploy me army. That total space is substantially less than a Realm of Battle 2" table square (which is what my army display board was).
After joking with Eric for making the better tactical decision in choosing the larger table corner and sticking me with the worse corner, we rolled for spells. His Level 4 with the Lore of Shadow received Melkoth's Mystifying Miasma, Steed of Shadows, The Withering, and Okkam's Mindrazor. In turn, my Level 4 with the Lore of Beasts received Wyssan's Wildform, Savage Beast of Horrors, Amber Spear, and Curse of Anraheir (4 spells I love against Empire, especially when there are lots of knights and Steam Tanks).
Deployment:
Lord Ashur pushed through the dense fog towards the bobbing lights. As he neared, he saw shapes appear from the fog. Tall, thin shapes covered in cloaks of heavy fur and bird feathers. Sprites danced around Ashur's head as he moved towards the figures.
"Highborn Ashur, thank you for coming. There is much we have to discuss," said one of the cloaked figures. "We have brought you here to impress upon you that there is a great threat coming to the world. One which could cause the extinction of the races of men, elves, and dwarves."
Another voice, soft like mist, spoke in turn. "You have been dreaming, and are dreaming now. We have used our magics to train you in battle without the loss of your life, or the lives of your men. We have watched you and your kin for decades. You are a brave and noble people, but rarely leave your own lands and even more rarely come into contact with other races. This is not acceptable if you are to help fight the growing darkness."
A larger figure, with a red beak attached to the top of his cloak turned to face Lord Ashur. His voice was grave, but loud. "You have many tests to face and against many foes. We have seen you stand tall in the face of defeat, a noble quality. We have also seen you sacrifice yourself for the greater good, as an honorable man should. But we have not seen your battle prowess, and we have not seen how you and your troops can handle changing situations and enemies you have never fought before. We have three more tests that we will put to you. Pass them, and prove yourself and your race worthy to fight the enemies of the world."
As he finished his statement, the large figure clapped his hands. Lord Ashur was blinded by the sudden flash of light. As he blinked to adjust his eyes he noticed a large black pyramid on his left. It was massive, as tall as the most ancient and revered trees in Athel Loren. A warning horn brought his attention to the small force across from him and the Pyramid. A host of mounted men, knights, galloped into position and leveled their lances, looking as if they were about to charge.
Lord Ashur smirked. "A test," he thought. "This will not be a test, it will be a massacre." He drew his bow and a fistful of arrows, a knowing smile on his face. He would show these otherworldly beings that the Fey were fighters, no matter the enemy arrayed against them.Eric had to deploy his entire army first. A couple of bad rolls for units and Eric was only able to deploy his Great Cannon, the unit of Pistoliers, his Inner Circle Knights, and the Reiksguard Knights. His Great cannon deployed near the Pyramid, using it as a shield to protect itself from massed shooting attacks.
 Eric deployed his mounted units at the extreme edge of his deployment zone, as close to my deployment zone as possible. On the left flank he deployed the Pistoliers. He deployment the Reiksguard Knights with his general in the center of the board. On the right flank of his battle line he deployed the Inner Circle Knights along with the BSB.
I rolled much better for the number of starting units, but because of the Pyramid I was forced to deploy in a very clumped manner which would hinder my movement for the first few turns and provide Eric with some easy charges.
 On my left flank, next to the pyramid, I deployed my BSB in a unit of archers, another unit of archers, and then then large units of archers with the Banner of Eternal Flame and my Spellweaver. In front of those units I deployed a unit of Dryads to act as a road bump in case I was unable to deal with the knights in the first two turns.
 Moving to the center of my deployment zone I deployed another two archer units on the edge of the board (one with my general) and another unit of Dryads in front of those units (ready to sacrifice itself so the elves would have another turn of shooting).
 Finally, on my extreme right flank, I deployed another unit of Dryads within charge range of the knights. I was hoping to draw a charge and have the knights pulled away from the bulk of my forces.
Off the board, I was left with another unit of Dryads, both eagles, and another archer unit. With both armies deployed, I rolled a single d6, but failed to steal the initiative. Eric would get the first turn.
Turn#1:
Lord Ashur looked at the charging units of knights and hoped that his careful placement of his troops would draw the knights into his trap. His troops were ready, bows drawn, and all that was left was to give the order. When the knights were close, Lord Ashur drew back his own bow, several arrows in his fingers, and yelled.The game began with a first turn charge. Uh-oh. I hate first turn charges.
 The Inner Circle Knights with the BSB charged the closest unit of Dryads deployed at the edge of the battle field and easily made the long charge.
After completing his charge, Eric moved the rest of his army onto the board. The Pistoliers marched to the flank of my battle line to shoot the closest unit of archers. The Reiksguard moved forward, angling themselves to have several charge options on turn 2.
 The archers and mage moved up next to the pyramid, careful to stay out of maximum range of the Wood Elf archers. The Steam Tank moved onto the board and towards the center of the board. Eric's Great Cannon did not have line of sight to any target of worth and so moved forward, hoping to fire in the next turn.
The Swordsmen came onto the board behind the pyramid. Eric's plan was to move into the pyramid on turn 2, move out of the pyramid on my flank on turn 3, and charge down my battle line with this massive unit on turns 4-6. I knew this was his plan, and had already formulated a plan of my own to counter this tactic.
In the magic phase, a low roll saw Eric's wizard fail to cast any spells of worth. While in the shooting phase, the Pistoliers killed two archers from the closest unit (the Steam Tank's cannon was out of range of any unit).
In combat, the Dryads struck first, directing all of their available attacks at the BSB. The combined might of strength 4 attacks managed to push through a single wound on the Empire Captain. The remaining Dryad attacks brought down one of the charging knights. In return, the Captain and knights killed several Dryads and caused the unit to run off the board. Rather than pursue the fleeing Dryads, the Inner Circle Knights reformed to face the flank of my battle line.
 The Inner Circle Knights after their devastating first turn charge.
Wood Elf Turn 1 involved a lot of maneuvering units to prevent the knights from being able to charge anything important. First, both eagles moved onto the board. One eagle flew over the Pistoliers and in front of the Reiksguard Knights. The second eagle flew in front of the Inner Circle Knights, ready to sacrifice itself valiantly. Next, one unit of Dryads moved forward to tempt the Reiksguard away from the archers while the other unit of Dryads already on the board moved into the building (this was my plan to stop the Swordsmen from being able to flank me). The new unit of Dryads moved onto the board next to the pyramid, ready to move into it next turn if necessary. The archers, meanwhile, simply moved around or reformed to try and maximize their lines of sight. One unit (of course) failed its Swift Reform test (as the BSB was not wthin 12") and simply turned to face the Pistoliers. I was hoping this unit would have passed its test as I would have made short work of the Pistoliers with the eight strength 4 shots.
 This is how the Wood Elf battle line looked after my first turn of movement.
The Spellweaver rolled well for the winds of magic giving me ten casting dice. First, I cast Curse of Anraheir on the Reiskguard hoping to draw out some of Eric's dispel dice. The spell was successful and Eric used all of his dispel dice to stop the spell and allow the Reiksguard to charge unhindered next turn. Without any more dispel dice, my Spellweaver was able to successfully cast Savage Beast of Horrors on the Highborn as well as Wyssan's Wildform on the archers who failed their Swift Reform test (to try and dissuade the Pistoliers from charging).
In the shooting phase the Highborn fired seven shots at the Reiksguard, but do to some poor dice rolling, he only managed to kill 3 of the normal knights. The remaining archer fire failed to kill any more knights, but did push through a single wound on Eric's general.
 The Reiksguard at the end of Turn 1. I was really hoping that there wouldn't be any of the regular knights left, but there was some pretty poor rolling throughout the archer units.
Turn 2:
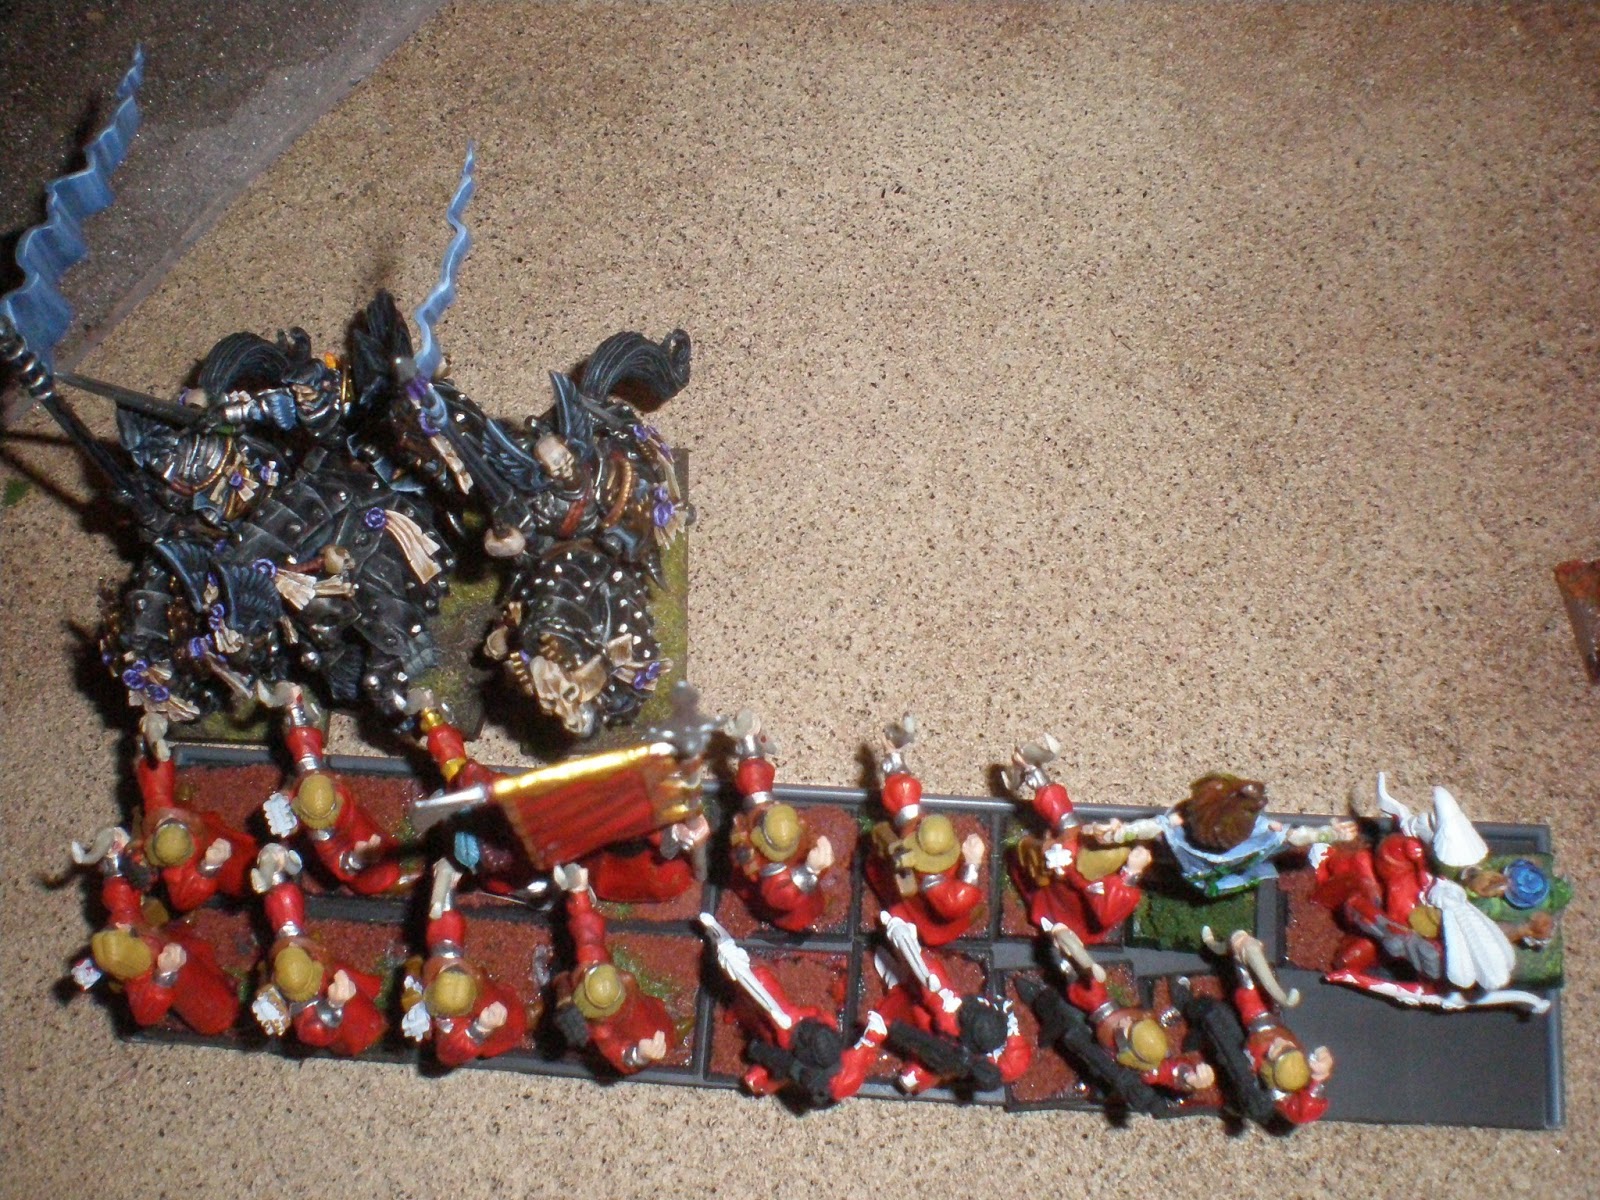
The knights charge had not faltered beneath the elves' volley. Lord Ashur thought that perhaps another volley would show these men what its like to fight the Fey. With a quick hand gesture the lines of elves knocked another arrow and took aim.Eric's Turn 2 began with several charges. First, the Inner Circle Knights charged the re-directing eagle looking for a quick kill. Then the Reiksguard Knights bypassed the other eagle and charged the Dryads. Eric lined up the Reiksguard so that a 10" overrun (assuming I broke) would take the unit right into the archer unit with the Banner of Eternal Flame and my level 4 Spellweaver. Finally, the Swordsmen (along with the Witch Hunter and Warrior Priest) charged the Dryads in the giant pyramid.
 The Inner Circle Knights make contact with a soon to be dead eagle.
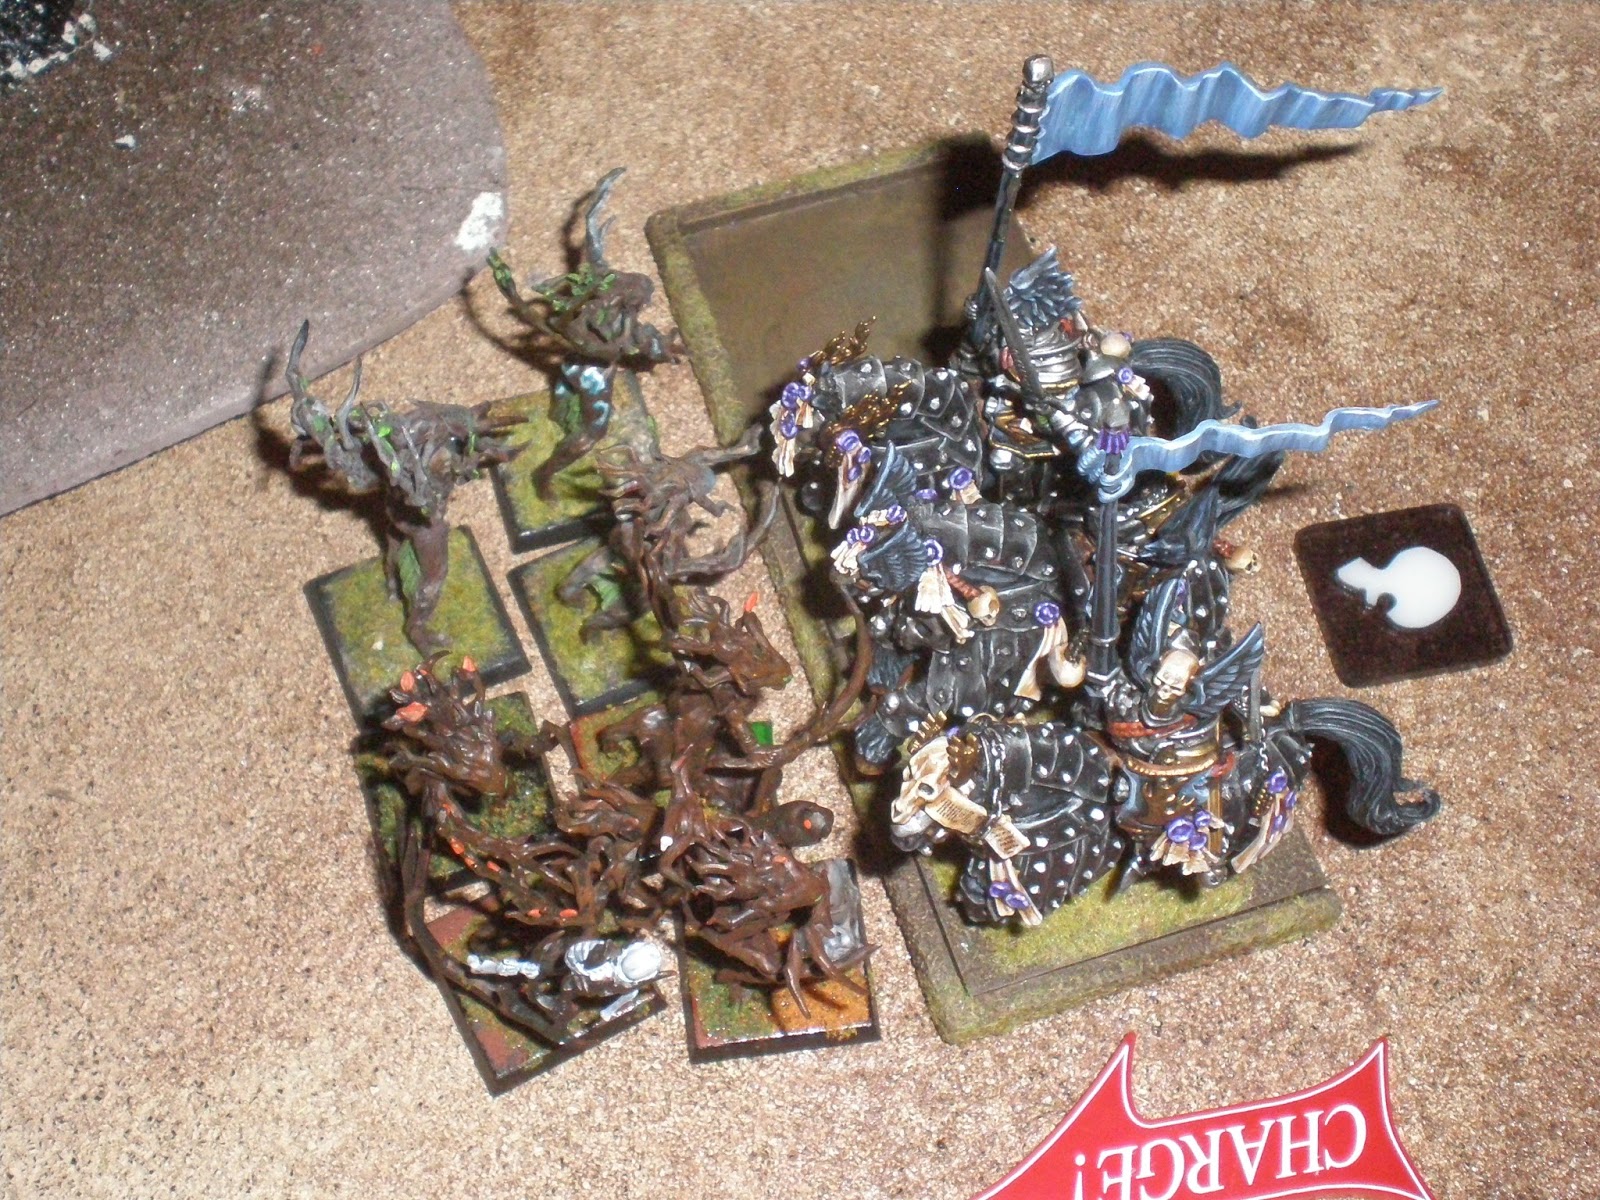
The remaining Reiksguard take cover from the massed bow fire by charging the closest unit of Dryads.
Eric's remaining movement was pretty straightforward. The Empire Cannon moved again in the hopes that it could see part of the Wood Elf battle line on turn 3. The mage stayed behind the pyramid protected by the archers while the Steam Tank rolled forward almost reaching the center of the board.
In the magic phase Eric attempted to cast miasma on the Dryads, but it is dispelled, as is his attempt at The Withering on the same unit of Dryads (what did he have against these poor guys I wonder).
In the shooting phase, the now in range cannon on top of the Steam Tank tries to kill the last eagle, but misfires. The resulting misfire causes the cannon to explode (but does no harm to the tank itself). The Pistoliers in my deployment zone opened fire on the archers in front of them (who were Wildformed) and managed to kill another four models (dropping the unit to only four archers). With no other shooting, we moved right into combat.
In the Inner Circle Knight's combat, the knights made quick work of the eagle (who failed to wound) and reformed to face the Wood Elf flank. In the Reiksguard combat, the Dryads failed to push a wound through the knight's tough armor. In return, the knights beat the Dryads in combat causing them to flee. The fleeing forest spirits were caught by the knights and destroyed while the knights (who rolled an 11" on the pursuit roll) slammed into the large archer unit.
 That is one nasty overrun!!!
In the combat between my Dryads and the Swordsmen in the pyramid, Eric chose to bring forward his Witch Hunter, the Warrior Priest, the Swordsmen Champion, and 7 other Swordsmen. My Dryads struck first. I directed half the unit at the Warrior Priest (as I really didn't want to deal with hatred re-rolls) and easily killed him. The remaining Dryads killed the champion, but the Witch Hunter (who was wearing the 2+ armor) survived the battle. In return, the swordsmen caused a few wounds, but through some crazy dice magic, I actually passed to 5+ ward saves meaning that only a single Dryad died. The Swordsmen, having lost the combat, moved out of the building preparing to charge it the following turn.
With my mage in combat, I knew I had to try and do something crazy or the Reiksguard and general would eventually kill him and the archers. With this in mind, I made a crazy charge to start my Turn 2. I declared a charge with the archer unit with the BSB into the flank of the Reiksguard!!!
 The charge. My thoughts at the time were that I would be adding at least three (if not four) more points to my combat resolution allowing my to stay this turn and possibly break the knights the next combat round. Also, I was going to try and go for broke on a boosted Savage Beast and then just wallop the knights.
The rest of my movement involved shifting the archer units around to try and see the Inner Circle Knights. I carefully placed my Highborn to make sure he was within 12" of the mage (in case I got the boosted Amber Spear off). I flew the eagle out towards the Steam Tank, ready to sacrifice it if necessary. The Dryads in the building exited it next to the cannon, archers, and Level 4 Shadow mage. Just to make sure my flank was still protected, my last unit of Dryads moved into the building.
In the magic phase, I rolled an average phase and got seven casting dice. The Spellweaver attempted to cast Wyssan's Wildform on its own unit but was dispelled by the shadow mage lurking in the back of the battlefield. A little ruffled, the Spellweaver countered with a successful curse on the knight's unit. Finally, the Spellweaver (belting out a lovely tune so as to get the boosted spell effect) cast Savage Beast of Horrors. The spell was successful and all three characters (mage, BSB, and Highborn) got +3 attacks at +3 strength. The Reiksguard combat was looking good for the elves!
In the shooting phase, the four man unit of archers tried to shoot at the Pistoliers right in front of them, but failed to cause a single wound. The remaining archer units not in combat, including the Highborn, targeted the Inner Circle Knights with the BSB and wiped the entire unit (as the Highborn's seven no armor save shots really wreaked havoc).
In the Reiksguard combat, my BSB declared a challenge which was accepted by Eric's general. The BSB then struck first with his six strength seven attacks and killed the general before he had a chance to even level his weapon. The mage accounted for another knight while the archers failed to cause a single wound. The remaining Reiksguard killed a single archer, lost the combat, and fled towards its own deployment zone. I chose not to pursue the knight as it could only rally on double 1's and I didn't want my archers to be within a possible charge of the Steam Tank.
Thus, in a single turn, I had managed to kill off both large units of knights, Eric's general, and his BSB. Things were looking up for the Wood Elves.
 The last, lonely knight, fleeing the battle field.
Turn #3:
Lord Ashur smiled. Raelle and the mage Kale had managed to kill the enemy general; in combat no less. Meanwhile he and his archers had killed the other unit of knights threatening their lines. He was pleased. The battle would be over quick. There were only a few enemy units left and those that could really hurt his troops were either to far away or would die before they could make contact.
Lord Ashur called to his unit commanders to being the advance and press the momentum they had gained. He signaled to his archers to bring the last men on horseback down while he turned to face the metal behemoth moving towards him. Lord Ashur glanced at his quiver and saw more than enough arrows left. Yes, he though to himself, the battle was already won.Empire Turn 3 began with a few more charges. In the south, the Pistoliers declared a charge against the four man unit of archers. The unit fled and bounced through another unit of archers to stay out of range of the empire troops. In the north, the archers charged the Dryads in the flank hoping to protect both the mage and the Great Cannon. Finally, the Swordsmen charged the pyramid again.
 The empire archers make a valiant charge into the flank of the Dryads. Would such a brave move hold off the forest spirits, or would it end in disaster for the empire troops?
 Careful planning on Turn 2 allowed me to position my archer units so that when I fled, I fled through another unit and out of range of the Pistoliers. Now the poor empire troops were facing a full unit of Wood Elf archers at short range.
In the center of the board the Steam Tank turned away from the eagle towards the Wood Elf lines, but rolled poorly and sauntered forward only a few inches.
 The lone Reiksguard failed to rally and ran closer to the board edge. That's right, run away you chicken!
Finally, Eric moved his mage behind the pyramid and away from the Dryads.
In the magic phase the Shadow mage attempts to cast The Withering on the Dryads but is dispelled. Next, he successfully casts Okam's Mindrazor on the archer unit, but knowing that I have a chance to get the cannon and the mage if I win this combat, I use my Dispel Scroll and keep the archers at strength 3.
In the Empire shooting phase, the Great Cannon takes aim at, but fails to hit my mage with a cannon ball. Eric targeted a point 6 inches away but rolled a 2 on the artillery dice twice!
In combat, the Dryads in the north killed four of the archers for no losses of their own. The archers then broke from the combat and the Dryads passed their test to restrain pursuit, choosing the cannon as the better target. Meanwhile, the Dryads in the pyramid fared worse than their counterparts killing only a handful of Swordsmen. In return, the Swordsmen killed four (four!) Dryads as I once again could not make a 5+ ward save. Luckily, the Dryads had won the combat and the Swordsmen once again retreated from the giant edifice.
I began Wood Elf Turn 3 by charging the Great Cannon with the Dryads. The four man unit of archers successfully rallied and the remaining archers moved to maximize the number of shots on the Pistoliers.
In the magic phase, another average roll on the winds of magic saw my Spellweaver have seven dice. I attempted Savage Beast of Horrors on my Highborn, but was rebuffed by the Shadow mage. My Spellweaver then targeted the Steam Tank with an Amber Spear (singing again to get the boosted effect). A high roll saw the spell successful over Eric's dispel attempt. A bright light shot from the Spellweaver's hand and into the Steam Tank, causing significant damage to its internal mechanics and bringing the contraption from ten wounds down four (yes, I rolled a 6 for wounds. Sometimes I rule!).
In the shooting phase the Wood Elf archers shot and killed all the Pistoliers while the Highborn targeted the Steam Tank. Two 6s later and the Steam Tank was down to only two wounds left!
Finally, in combat the Dryads easily destroyed the cannon, turning to face the fleeing archers and the hidden mage.
Turns #4-6:
Lord Ashur pushed his troops onward. The battle was almost over and he was getting anxious. He had two more tests to face and desired to finish them as soon as possible. It was now a matter of pride that he showed what the Fey were capable of when pushed to war.
A loud explosion caught Lord Ashur's attention. The metal contraption had attempted to charge towards him, but the damage caused by the Spellweaver's spell resulted in the tank erupting, steam and flames billowing into the sky. One more target down he mused.The remaining turns of the game played out very quickly. The Swordsmen kept charging the Dryads in the pyramid, eventually killing the entire unit on Turn 6. The Steam Tank, attempting to charge the Highborn's unit, exploded while trying to use too many steam points to move. The archers and lone Reiksguard failed to rally and both ran off the board. Finally, the Drayds in the north eventually caught and killed the Shadow Mage.
The battle resulted in a decisive victory for the Wood Elves and I gained all 4 battle points bringing my total to 10 at the end of Day 1. The singing effects on this game really helped as it allowed me to boost the effects of the cheap Lore of Beast spells to deadly effect.
Nice. Excellent use of the building to your advantage. Also, way to keep your cool despite the extremely limited space!
ReplyDeleteI try to keep up the Ben Mitchell style of generalship!
Delete