 Sean (left) is a smart and fun player who plays a list with similar style to my all fast cavalry army, except his army is based around skirmished units of skinks.
I was surprised to see Sean as my opponent for Round 2 as I knew he was great player and usually ends a tournament with a winning record. It turned out that Sean had won his game, so instead of playing someone with a similar losing record, I got to play Sean. And not only had Sean won his game, but he did so with a full 150 points. So even with pulling me up from the losers bracket (at a mighty 75 points) I should never have played him. This was the third major fault of the tournament and the day wasn't even half over.
Sean's army for this tournament was a heavy skink list with lots of skirmishers and poisoned attacks. It is a very difficult army to get points off of, and he plays it extremely well. It is also beautifully painted and themed (as the pictures from our Round and at the bottom of the post will show). His army for the tournament was as follows:
Slann Mage Priest (565 points)
- General, Battle Standard Bearer, Level 4, Lore of Death, The Focused Rumination, Focus of Mystery, The Becalming Cogitation, Soul of Stone, Book of Ashur, Diving Plaque of Protection, Banner of Swiftness
- Level 1, Lore of Heavens, Dispel Scroll, Ruby Ring of Ruin
- Level 1, Lore of Heavens, Cube of Darkness
Skink Skirmishers (70 points) (10 models, blowpipe)
Skink Skirmishers (70 points) (10 models, blowpipe)
Skink Skirmishers (70 points) (10 models, blowpipe)
Skink Skirmishers (70 points) (10 models, blowpipe)
Skinks (58 points) (10 models, standard bearer)
Skinks (50 points) (10 models)
Skinks (50 points) (10 models)
Skinks (50 points) (10 models)
Jungle Swarms (45 points)
Jungle Swarms (45 points)
Jungle Swarms (45 points)
Jungle Swarms (45 points)
Jungle Swarms (45 points)
Chameleon Skinks (72 points) (6 models)
Chameleon Skinks (72 points) (6 models)
Chameleon Skinks (72 points) (6 models)
Terradon Riders (90 points) (3 models)
Terradon Riders (90 points) (3 models)
Salamander Hunting Pack (235 points) (3 salamanders, additional handlers x 2)
Salamander Hunting Pack (230 points) (3 salamanders, additional handler)
Sean's army is designed to limit the number of victory points that he gives up while maximizing the damage output he can do with poisoned attacks. The army is great against those with large creatures, ogres, etc. and works very well in the current meta-game. The only issue he faces is the death of his Slann (which gives up over 700 points). He minimizes this by giving him the ward save against magic and shooting attacks, but multiple flying units can easily charge this model if it is not in a unit. All in all, though, this is a great list to play and forces you to undertake great movement phases to maximize your damage and limit your opponent's lines of sight.
Pre-Game:
For this round, Sean and I were playing straight up Battleline from the basic rulebook. We both began by rolling for spells. Sean's Skink Priests both chose the signature spell for Heavens while his Slann had the entire Lore of Death.
My Lifeweaver rolled for spells and got Flesh to Stone, Throne of Vines, Regrowth, and The Dwellers Below - great spells against Sean's army as I can bring models back to life that have been killed, preventing Sean from getting points. I can also cast The Dwellers Below on his Slann in the hopes that it fails its strength test and is removed from the game (an netting me nearly 800 points in the process). My Beastweaver wasn't as lucky and picked up Wyssan's Wildform (toughness bonus is not really an issue against poisoned attacks), Flock of Doom (decent spell but low number of hits), and Savage Beast of Horrors (I really wasn't expecting to make it into combat with Sean's army). I would have really liked to have gotten Curse of Anraheir in this game!
Deployment:
As is standard in Battleline, Sean and I took turns placing units on the battle field.
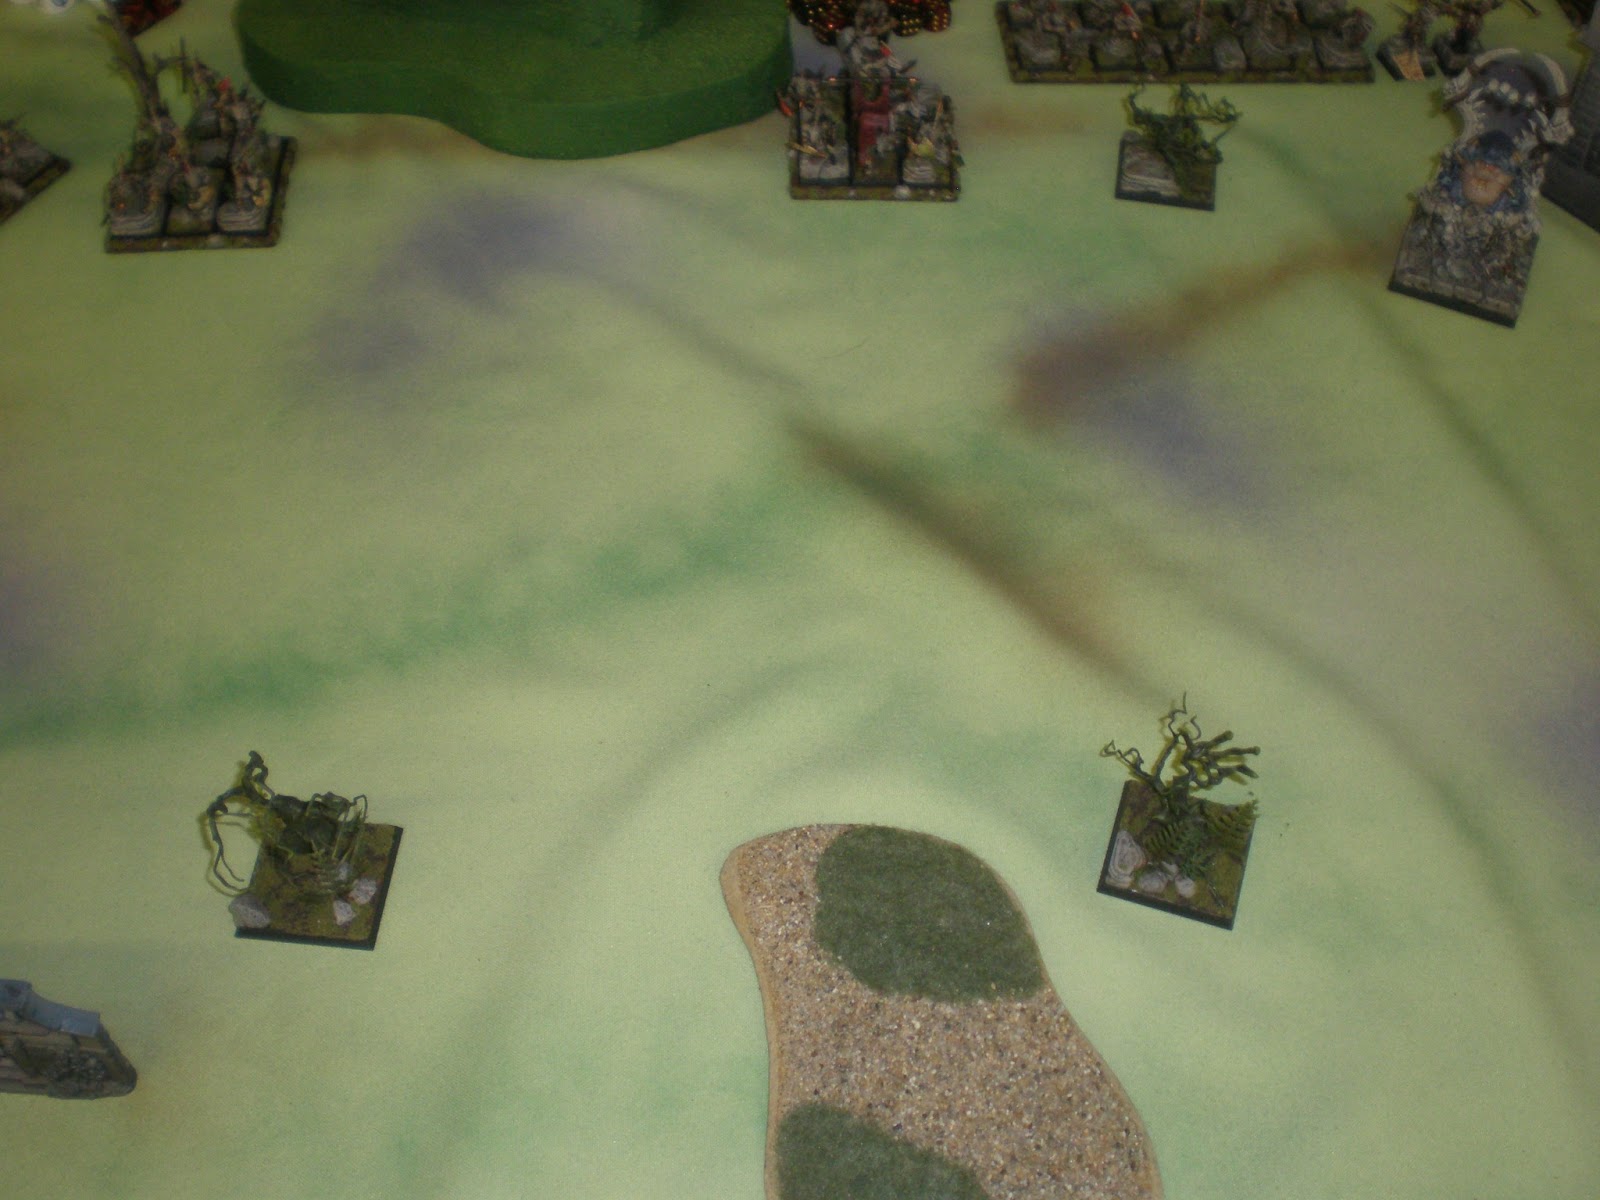
 As you can see from this picture, my battleline was designed to limit the number of places he could deploy his Chameleon Skinks while protecting my big tree spirits.
On the left flank I deployed my Dryads in a forest. All three mounted units deployed at the 12" line while the Treekin, Treeman, and Eagle deployed further back to limit Sean's shooting ability.
In comparison, Sean's deployment took up his entire battle field!
 Looking at the picture, you can see that he has lots of units of skinks along the 12" line, as well as supporting units immediately behind them. In the center he placed his Slann and the Salamander packs. The Terradons were deployed behind terrain and his Chameleon Skinks scouted to the middle of the table.
I won the die roll and began the first turn.
Turn #1:
My first turn began with several charges. The Eagle charged a unit of Chameleon Skins who opted to stand-and-shoot; their poisoned attacks causing a single wound. The Wild Riders then charged into the same Chameleon Skinks who then opted to flee. The Wild Riders re-directed into another unit of Chameleon Skinks who also opted to flee (because I would be charging this unit in the flank). The Eagle then re-directed into the final unit of Chameleon Skinks who also fled. Both the Eagle and the Wild Riders failed their charges and barely moved out of my deployment zone.
In the magic phase, Sean uses the Cube of Darkness on my casting of Throne of Vines to end the phase.
With shooting, I only manage to kill 2 Chameleon Skinks from one of the fleeing units and 3 skinks from another unit who fail their panic check, but manage to stay on the board (barely).

So many failed charges! One day, Swiftstride will work in my favor and I will roll some 10s and 11s on the dice.
 This picture showcases some of my movement on the left flank. The Dryads moved forward into the difficult terrain, the Treekin moved forward, and the Lifeweaver and BSB's unit moved into a forest to gain the cover save.
Sean started his turn 1 by rallying all three units of Chameleon Skinks that had fled (dang cold-blooded creatures). Sean advanced cautiously with the majority of his army to limit the charges I would have on the next turn. The swarms, however, ran forward as far as possible and directly at my lines hoping to stall my army for a turn. Finally, one unit of Terradons flew over the Eagle and dropped their rocks, killing the wounded creature. 50 victory points and first blood to Sean.
 Sean's swarms make a full run into the center of the board.
 Sean's slowly advancing right flank, protected by the large Salamander packs.
 Sean's left flank held by a few units of Skinks trying to maneuver around terrain to see my Dryads.
In his magic phase, Sean gains six power dice. I dispel Caress, but Spirit Leech is successfully cast on my Lifeweaver. Luckily, the Lifeweaver rolled a "2" to Sean's "1" and took no damage. Sean's shooting was equally as ineffective as his magic as he was still out of position with all of his shooting units and the Chameleon Skinks could not shoot this turn because they rallied.
Turn #2:
My Turn 2 began with several more charges.
 On the left flank, the Dryads charged the closest swam base but fail. This was becoming a big pattern this tournament.
The middle unit of Treekin, also shown in this picture, charged another swarm and actually made contact!
The other unit of Treekin charged the closest Terradons who fled. The Treekin then redirected into the other unit of Terradons who elected to stand and shoot, but fail to cause a wound. The Treekin then fail their fifteen inch charge into the Terradons. The rest of the army moved around to try and set up charges for the nest turn and maximize my shooting targets while staying out of range of the massed skink shooting.
Magic and shooting were disappointing as I only managed to successfully cast Wildform on the Wild Riders and failed to kill a single Chameleon Skink. Only the Treeman manages to do anything as his strangleroot attack kills a Terradon and causes the unit to flee. In combat, the Treekin do four wounds to the swarm which then dies to combat resolution. As this tournament was before the new FAQs, I could not overrun to get closer to Sean's battleline and his Slann.
Sean's Turn 2 starts with a long charge from the remaining swarm base into the flank of my Glade Guard unit and BSB. Normally, this is a charge I would flee from, but because Sean needed a "10" on the die roll, and because I needed to stay in position to threaten Sean's battleline, I opted to stand. The Swarm successfully made its long charge and ran smack into the BSB, hoping to kill the elf with his poisoned attacks.
 The BSB and swarm in combat.
Sean's magic is ineffective as he rolls low for the winds of magic and fails to kill a single model. His shooting is also ineffective as only one unit of Chameleon Skinks is within long range of the Treeman. Though they do manage to put a wound through the Treeman's thick bark.
In combat, I strike first with the BSB, an elf, and two horses and fail to cause a single wound. The swarm, in return, kills the BSB outright (before he even got to fire his Hail of Doom arrow). I lose the combat, but pass my Steadfast break test. At this point, Sean is up about 200 points as all I have managed to kill is a swarm.
Turn #3:
I spent my Turn 3 moving carefully to set up charges for the next turn as nothing was within. I manage to wipe a unit of Chameleon Skinks with the Treeman's strangleroot attack and killed a few more with regular shooting. In combat, I manage to kill the swarm I am in base contact with.
After, I repeat, after I make all my moves for the turn, its determined that there wouldn't be enough time for a Fourth Turn (which really ticked me off as I wouldn't have made the moves I did if I had known that before hand). This gives Sean free run to move as far forward as he wants as he doesn't have to worry about any retribution on my part. As such, Sean moves all of his units forward to try and take out my Treeman. The result:
 One dead Treeman from a lot of poisoned attacks.
The game ends here with Sean up a BSB and Treeman. I take another loss and try to get around the fact that this day is just not going well.
As a conclusion to this post, here are some pictures of Sean's army. I threw these in because this army looks awesome and more people should see the work he has put into it.


Man, this tournament sounds worse and worse. Can't believe you lose round one to end up playing against a top tier army like this.
ReplyDeleteAgreed! But they have promised to work on their problems for next year (and it is now included in the West Coast Master's qualifier) so I will be attending absent a Zombie Apocalypse.
Delete